First Steps
Your server's running. Now connect the app, create your account, and point ListenUp at your audiobooks.
With the server up, the rest happens in the app. Three quick steps: connect, create your account, and add your library.
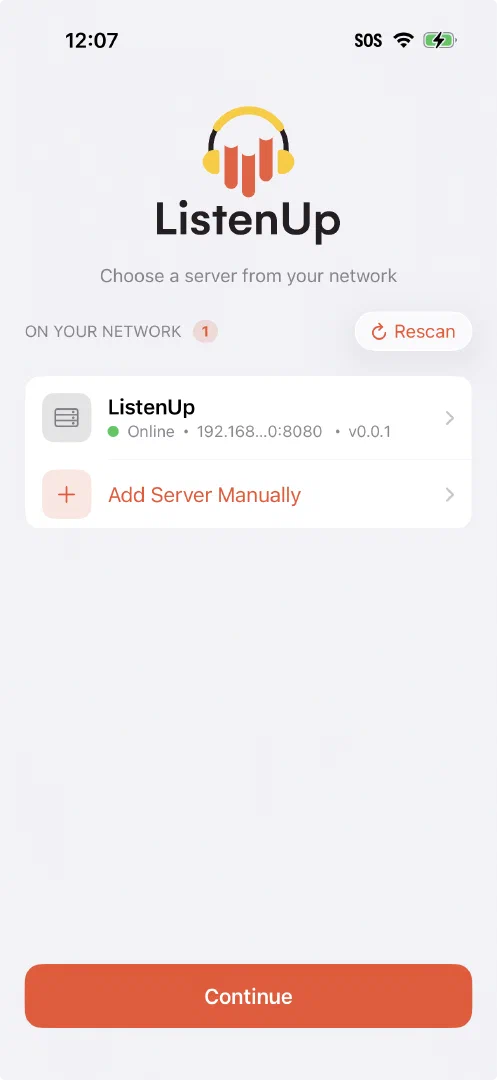
Connect to your server#
Open ListenUp on your phone. On the same network it finds your server automatically over mDNS (Bonjour), just pick it from the list.
Was the app already open before you started the server? Tap refresh to make it appear.

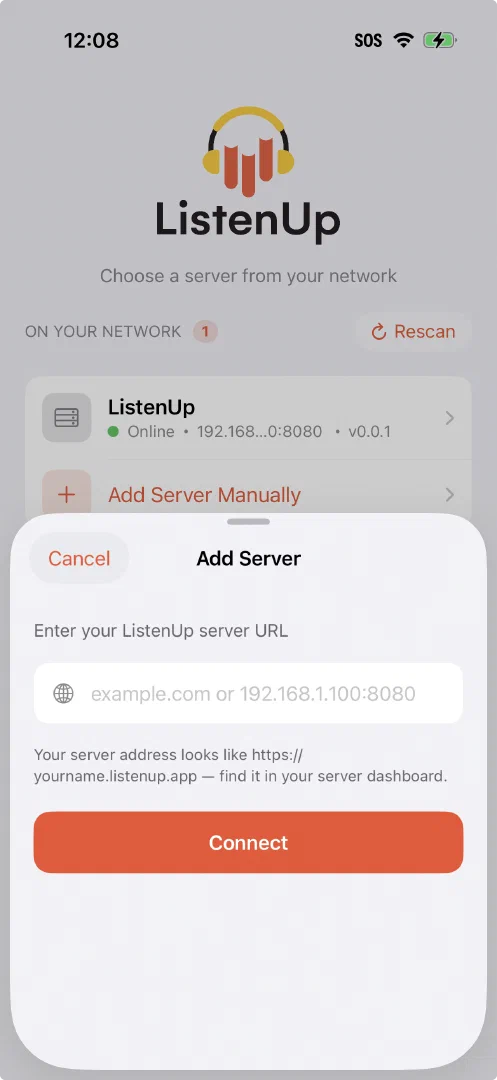
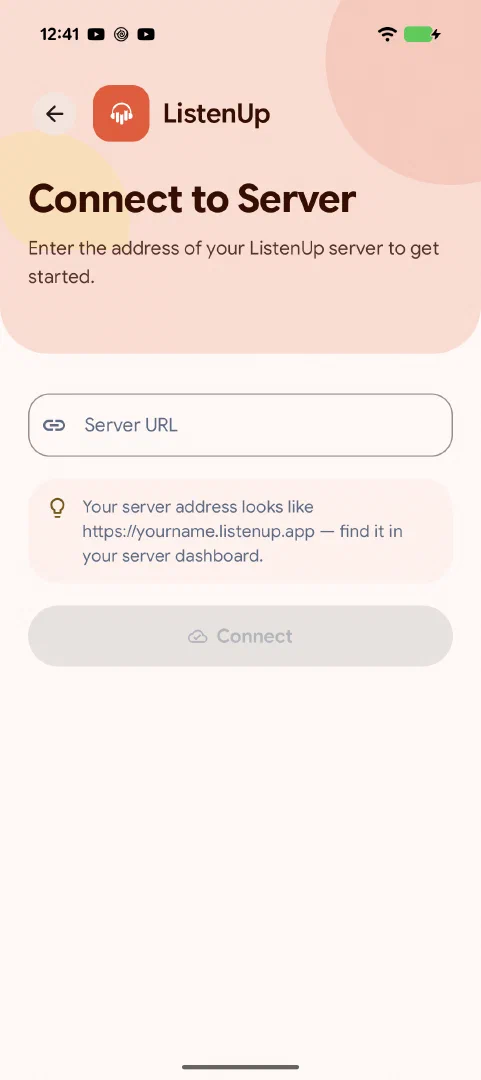
If your server lives outside your local network, or auto-discovery doesn’t find it, tap Enter Server Manually and type in its domain or IP address.
Create your account#
Once you’re connected, ListenUp takes you to a registration screen. The first account created on a new server automatically becomes its owner, with full admin control over users, libraries, and settings.

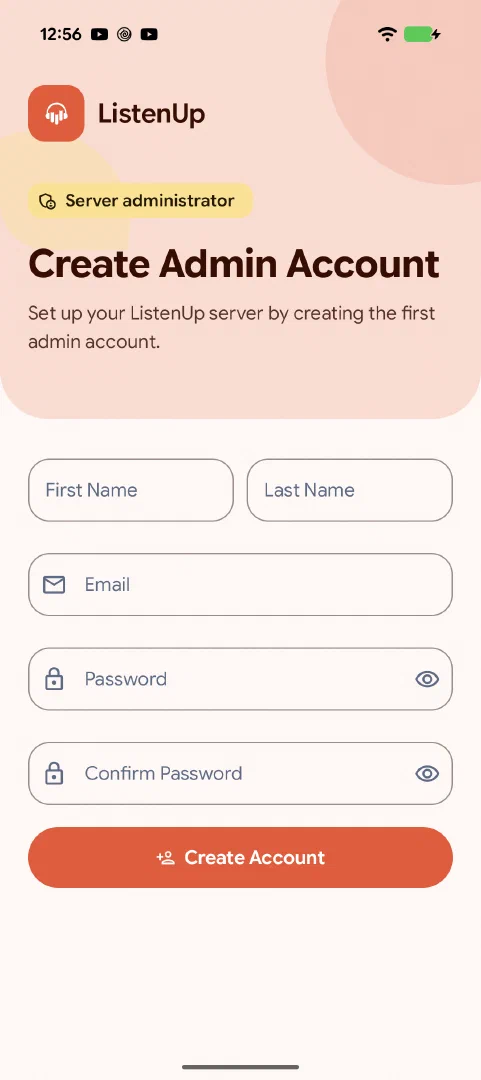
Email is currently used only for signing in, but we plan to add email-based features later, so we recommend a real address rather than a throwaway.
Add your library#
There are two ways to tell ListenUp where your audiobooks live:
Option A
Set it at startup
Pass LISTENUP_LIBRARY_PATH as an environment variable. See the Configuration reference
.
Option B
Pick folders in the app
If you didn’t set the variable, ListenUp drops you at a folder picker. Add each folder that contains audiobooks.
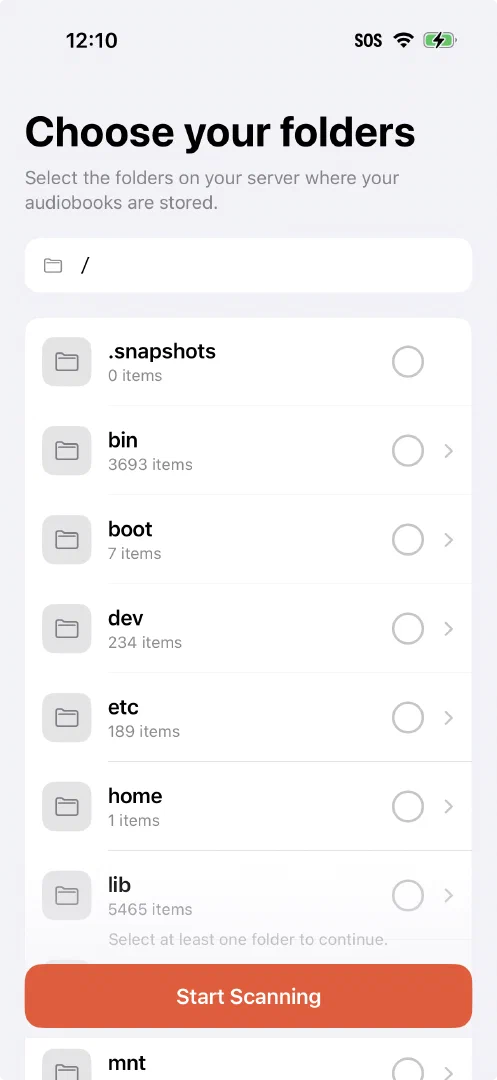
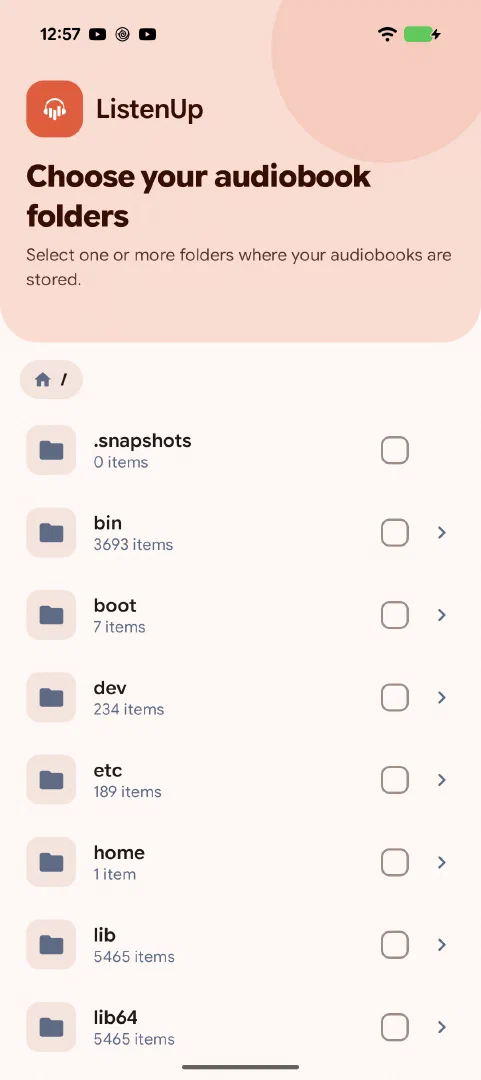
When you’ve added your folders, tap Create library to kick off the first scan.
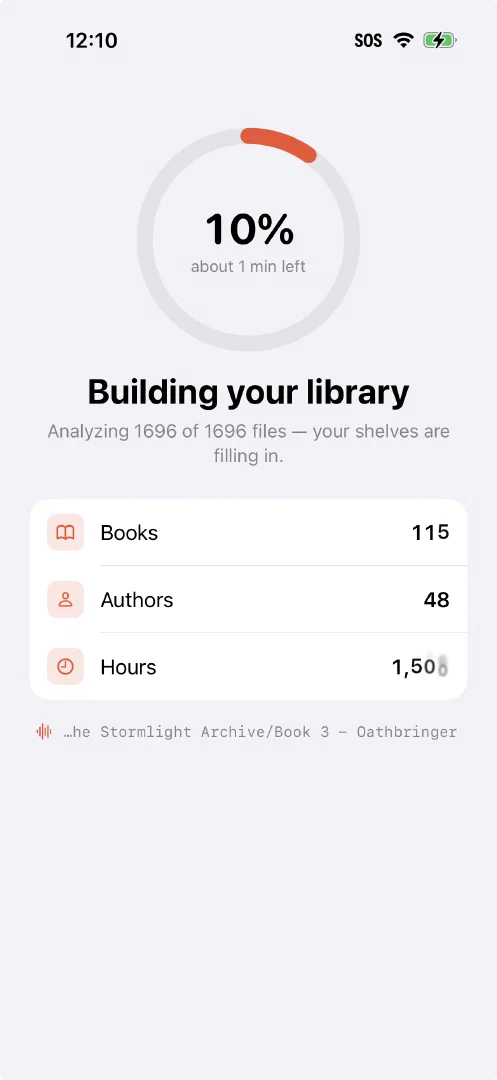
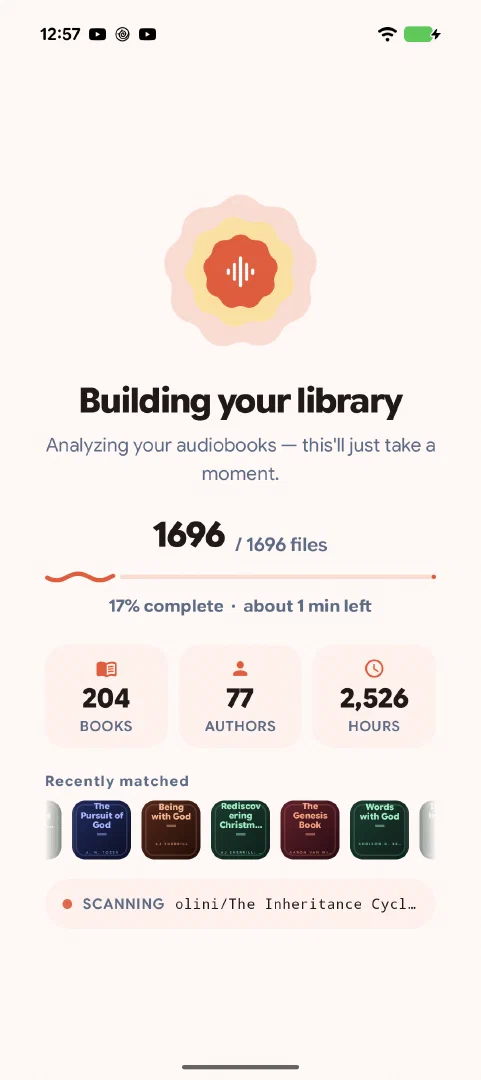
Scanning runs in two phases: Scanning, then Persisting. Depending on your library’s size and your hardware it can take a few minutes; no need to babysit it.
Your library is ready to browse
Curious how ListenUp turns your folders into books?